How to Drywall a Ceiling
Drywalling a ceiling is a fundamental task in any construction or renovation project. It’s a job that requires precision, patience, and the right tools. At Saskatoon Drywallers, we know that a well-installed ceiling drywall can make all the difference in the appearance and durability of a room. Whether you’re a DIY enthusiast or a professional contractor, here’s a step-by-step guide on how to drywall a ceiling.
Tools and Materials Needed
Before you begin, gather the following tools and materials:
- Drywall sheets
- Drywall screws
- Drywall lift (optional but helpful)
- Screw gun or drill with a drywall bit
- Drywall tape
- Joint compound
- Taping knife
- Sanding sponge or sandpaper
- Measuring tape
- Utility knife
- T-square or straight edge
- Ladder or scaffolding
- Safety gear (goggles, gloves, dust mask)
Step-by-Step Guide
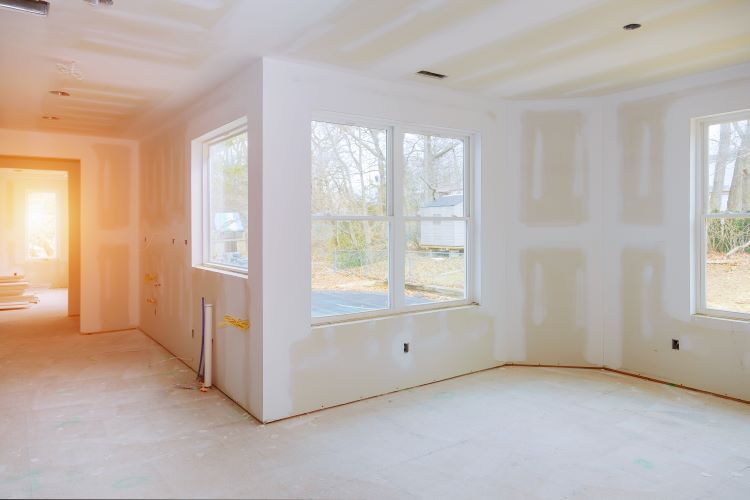
1. Prepare the Area
- Clear the Space: Remove any furniture and cover the floor with drop cloths to protect it from dust and debris.
- Check the Ceiling: Ensure the ceiling joists are level and in good condition. Repair any damaged areas before proceeding.
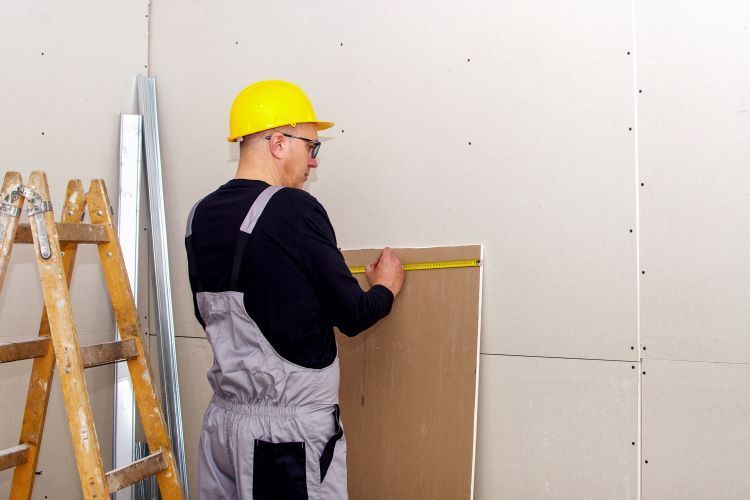
2. Measure and Cut the Drywall
- Measure the Ceiling: Measure the dimensions of the ceiling to determine the number of drywall sheets needed. Drywall sheets typically come in 4x8-foot panels.
- Cut the Drywall: Use a utility knife and T-square to cut the drywall to the required size. Score the paper on the front side, snap the sheet along the line, and cut through the paper on the backside.
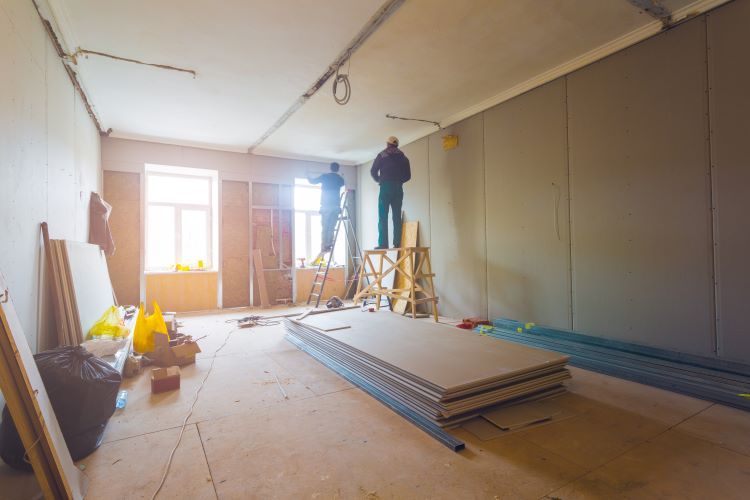
3. Install the Drywall Sheets
- Lift the Drywall: Using a drywall lift can make this step easier, especially if you’re working alone. Position the drywall lift under the first sheet and raise it to the ceiling.
- Attach the Drywall: Starting in one corner, attach the drywall to the ceiling joists using drywall screws. Place screws every 12 inches along the joists, being careful not to overdrive them, which can damage the drywall.
- Continue Installing Sheets: Move along the ceiling, installing each sheet in the same manner. Stagger the seams to increase the ceiling’s stability and strength.
4. Tape the Seams
- Apply Drywall Tape: Cover the seams between the drywall sheets with drywall tape. Use a taping knife to press the tape firmly into place.
- Cover Screws: Apply joint compound over the screw heads to create a smooth surface.
5. Apply Joint Compound
- First Coat: Apply a thin layer of joint compound over the taped seams and screw heads using a taping knife. Feather the edges to blend with the drywall surface.
- Second and Third Coats: Allow the first coat to dry completely (usually 24 hours), then apply a second coat. Repeat for a third coat, each time extending the compound slightly beyond the previous layer to create a smooth, even surface.
6. Sand the Surface
- Sand Smooth: Once the joint compound is fully dry, sand the surface smooth using a sanding sponge or sandpaper. Be sure to wear a dust mask to protect yourself from inhaling dust.
- Check for Imperfections: Run your hand over the surface to feel for any rough spots or imperfections. Apply additional joint compound and sand as needed.
7. Finish and Paint
- Prime the Ceiling: Apply a coat of primer to the entire ceiling to prepare it for painting.
- Paint: Once the primer is dry, apply your chosen paint color to complete the job.
Tips for a Professional Finish
- Use a Drywall Lift: This tool can make the process much easier, especially if you’re working alone or on a large ceiling.
- Feather the Edges: When applying joint compound, feather the edges to blend seamlessly with the drywall surface.
- Patience is Key: Allow each layer of joint compound to dry completely before applying the next to avoid uneven surfaces.
- Safety First: Always wear safety gear, including goggles, gloves, and a dust mask, to protect yourself from dust and debris.
Why Choose Saskatoon Drywallers?
At Saskatoon Drywallers, we have the expertise and experience to ensure your ceiling drywall installation is flawless. Here’s why you should choose us:
- Skilled Professionals: Our team consists of skilled professionals trained in the latest drywall techniques.
- Quality Materials: We use only the highest quality materials to ensure a durable and long-lasting finish.
- Customer Satisfaction: We are committed to exceeding our customers’ expectations and providing exceptional service on every project.
Contact Us Today
If you’re planning a drywall installation or repair project, don’t hesitate to contact Saskatoon Drywallers. We offer comprehensive drywall services to ensure your project is completed to the highest standards. Contact us today to schedule a consultation and learn more about how we can assist you with your drywall needs.
Drywalling a ceiling can be a challenging task, but with the right tools, materials, and techniques, you can achieve a professional finish. Trust Saskatoon Drywallers to provide expert advice and professional installation services for all your drywall needs.
You might also like